How to Shave – The Ultimate Guide
Welcome to How to Shave! In the following guide we will teach you the best way to shave; an eco-friendly, tried and true method of shaving that has been around for over 150 years. Wet shaving is seeing a great revival because of its simplicity, earth-friendliness, and renown for better care of the male face. The wet shaving method can be lathered up in three simple steps: Pre-shave, The Shave, and Post-Shave.
Phase 1: The Pre-Shave
Preparation (from here on we’ll call it “Prep”) is about getting your hair ready to shave. This is by far the most important part of the manly ritual of shaving, and can really make or break a good shave. The key ingredient here is hot water. I mean we are talking about wet-shaving after all.
Hot water softens the outer protective layer of the hair, called the cuticle. The cuticle is made of keratin fibers which when exposed to hot water, will begin to soften and expand revealing breaks in those fibers. This gentlemen, is where the rubber meets the road. Once open, the water will seep into the inner part of the hair softening both the inner core and the outer cuticle layer of the hair. This action makes the hair soft, and much more easy to cut. Guys, dry human hair has the same hardness as copper wire at the same diameter! That’s tough stuff, so to help make your shave a more pleasant Prep with hot water.
See also: Manscaping 101
But how do we do that?
Two easy methods will help Prep your hair for shaving:
- The easiest and most common method is to take a hot shower. All the water and steam as you bathe will take action and leave you ready to start your shave. This is most convenient for the guy on the go.
- The second method of Prep, a hot towel soak, is a little bit more time intensive but will be more luxurious and rewarding. Take a large hand towel and soak it in water that is as hot as you can stand. Wring just enough water out to keep it from dripping all over and wrap your face with it. Leave the towel on for approximately two minutes. This will allow enough time for the heat and moisture to have an effect on the hairs. Remove the towel and then shave. For an even more beneficial hot towel soak, repeat the process a second time but lather up before placing the towel on again. The soap will help break down the hair cuticle even more for softer hair.
Including one of these methods of Prep in your daily routine will greatly improve your shave. Proper Prep reduces the discomfort some men find in shaving, as well as gives all men a smoother shave, with less irritated skin.
See also: How to make your beard grow faster
Phase 2: The Shave
As we continue with Phase 2 of the How to Shave guide, we come to the heart of the matter: the shave itself. Our materials are our Prep’d face from Part I: a brush, shaving soap or cream, a razor and blade. Each one of these elements could easily have it’s own article, but we’ll do a quick overview here to get you familiar with them:
The Brush
The shaving brush can be made of several different materials but the basic composition consists of a handle and bristles. The handle may be made out of black acrylic, types of plastic, wood, horn, or a variety of other media. Bristles can be made out of synthetic material such as nylon, or natural material such as boar, or badger hair. Badger hair is most sought after for its water retention, softness, and ability to quickly and easily generate lather.
The Razor
Razors can be three, two, or one piece and are often made out of metal (although there are a few vintage and modern ones made of Bakelite). Some famous brands are Merkur, Weishi, Edwin Jagger, Parker, Feather and in vintage models Gillette. The most important thing to consider when getting a razor is how “mild,” or “aggressive” a shave they give. This feeling is determined by the gap between the blade and the safety bar. It is recommended for a beginning wet shaver to start with a more “mild” razor such as a Merkur 34c, Edwin Jagger 89, or Gillette SuperSpeed.
The Blade
Arguably the most subjective part of all wet shaving is the razor blade. The key is finding a blade that possesses both sharpness and smoothness in the right amounts for your beard and face. Unfortunately, the only way to find this out is to try several different brands for yourself and see which feels the best. I highly recommend buying a blade sample pack from one of the many fine vendors to see which blade works for you.
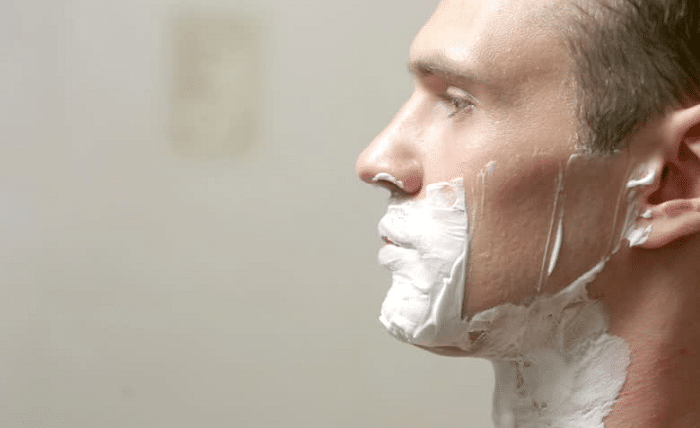
Now to the shave itself: load your brush with soap, or a dollop of cream into a bowl and whip it into a thick lather. Use a swirling motion to distribute the lather across your face. This does a few things, it lifts the hair, it places lather all around the skin and hair, exfoliates the skin and cleanses it. Smooth and even out the lather using a painting motion.
To start shaving, place the razor with blade loaded inside at a 90-degree angle (with the handle sticking straight out from your face) on your face. Slowly drag the razor down and bring the razor down to a sharper angle. When you feel the blade start to catch hairs, you’ve reached the right angle! This should be somewhere around 30-degrees, give or take. Continue to shave your face with short quick strokes in the direction of the hair growth. Then repeat the process and go across the grain. For beginners, I would not recommend going against the direction of hair growth until you have become more comfortable with the process of Wet Shaving. Now you’ve completed your Shave…well almost! Next is the last step, the post-shave
Phase 3: The Post-Shave
Now that shaving is finished it’s time to rinse off whatever lather and loose stubble might still be around. But WAIT! Stop right there, make sure this happens in two steps! First a warm water rinse, and then a cold water rinse. If the cold-water rinse is first, you close up your pores with the remaining shave residue still on your face. This would almost certainly cause irritation if not acne and other problems. So to avoid those problems rinse first with warm water, and then rinse with cold water. The warm water safely rinsing away stubble and lather residue, and the cold closing your pores and firming up the skin.
See also: How to shave a beard
Once rinsed, pat (don’t rub!) the face dry with a towel and apply aftershave. There is some debate as to what aftershave is best, but the general consensus is since your facial skin has just been exfoliated and the top epidermis layer possibly irritated from the blade that an aftershave balm is the best. The balm will cool, soften, calm, refresh and restore the freshly shaven face helping it to feel the best it possibly can. The balm will also help close the pores and protect your face against sun damage, dirt, and microorganisms, hence the Defend theme to this step.
Thankfully more and more manufacturers have been making aftershave balms so the chance of your favorite aftershave being in a balm is high! Many producers of wet shaving products such as The Art of Shaving, Proraso (also known as C.O. Bigelow in the US) the three big T’s (Trumper’s, Taylor of Old Bond Street, Truefitt & Hill) all make aftershave balms that match their product scent lines. You would be happy with any of these products.
Now you know how to shave! I hope you have enjoyed it and have been inspired to take the journey into this wonderful and healthier way of shaving. Until next time, Happy Shaving!